
This post may contain affiliate links, meaning I make a commission if you purchase through my links, at no extra cost to you. Disclosure here.
This post was sponsored by Design Bundles. All opinions are my own.
How do people get that perfect flatlay?
Today I’m sharing with you my best tips for creating flatlays, including the ultimate hack to get them perfectly every time – without any mess or clean-up involved.
Have a peek: See how I grew from 7k to 140k Instagram followers in 3 months by using Manychat.
Plus I’ve included a list of 35 props ideas to use in your photography.
I get it. It can be such a big task to get flatlays done yourself. From preparing all the props you need, to setting up the scene, to editing it to make it look bright but not too overexposed.
Let alone the fact that you might have a baby or a toddler, so you need to strategically plan your flatlay photo sessions, because otherwise those tiny hands will get all over your project. I know that’s my case at least.
Ultimate Flatlay Hacks
I recently discovered that there is such a thing as a digital flatlay.
You can use something called a scene creator to put together the perfect flatlay with minimal effort.
Which means you get all the objects / props you would normally use in a flatlay in digital form (.png), as well as images for surfaces to use as a base for your flatlay (like marble, white wooden ones). You can then use a free photo editor like Canva to create a perfect flatlay in a few minutes.
This is a game changer – I think.
- No more mess.
- No more scouring the drawers for quirky objects to use in your flatlay.
- No need to have a big empty surface to work with.
- No more clean-up afterwards.
- No need to edit lighting in your photo or anything really.
A mockup like this can be so useful and literally save you hours of work trying to put together the scene and getting that perfectly-angled shot.
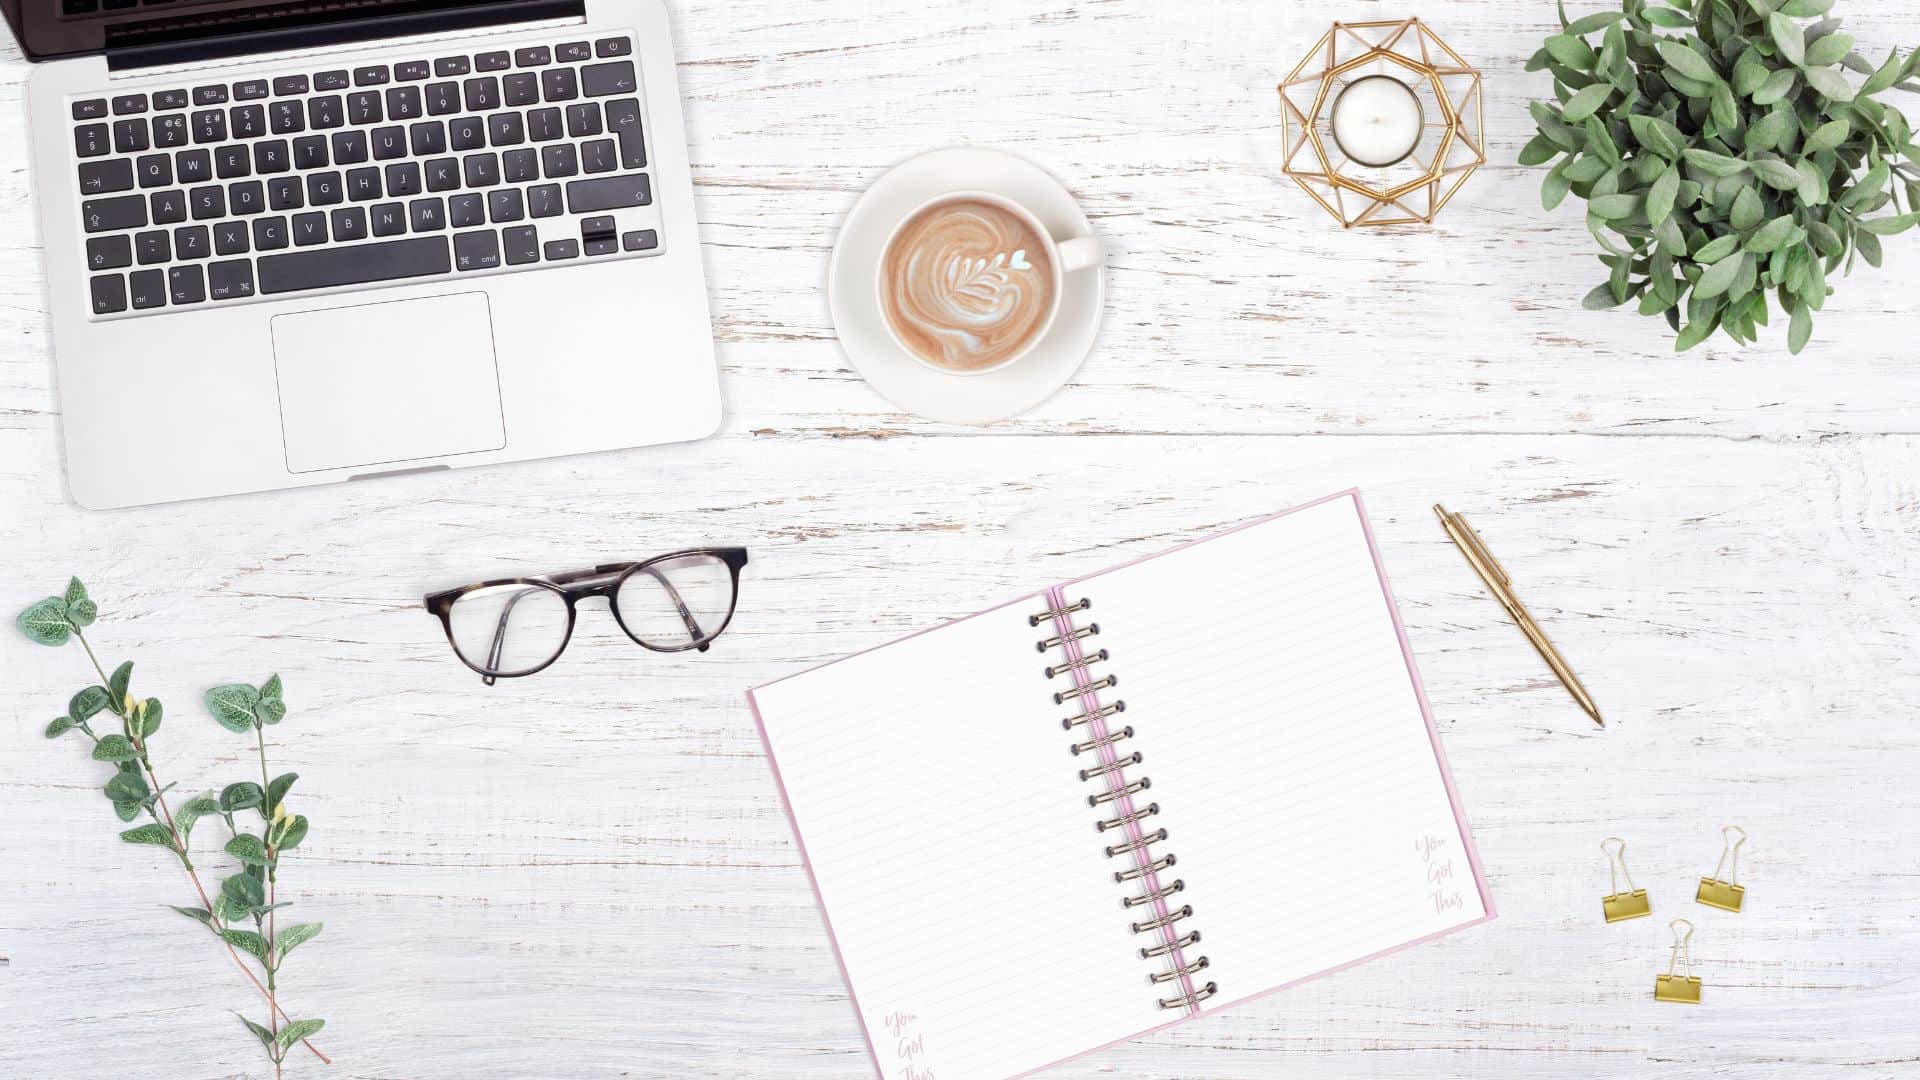
All the flatlays in this blog post were created with the digital scene creator.

TIPS FOR TAKING A GREAT FLATLAY
If you want to take flatlays yourself with your camera, here are the best tips to keep in mind in order to get a good shot.
How to prepare a flatlay
First thing to keep in mind is lighting. Natural light is the most flattering, so try to position yourself near a window and try to take the photos in the morning or at noon, so that there’s plenty of light.
However, you don’t want direct sunlight on your flatlay surface.
A nice background makes a huge difference. The most popular types of surfaces are: plain white, marble or wooden.
If you don’t have the perfect surface already in your home, which I don’t for sure – you need to improvise. You can buy contact paper in all types of patterns and you can use those as your background whenever you need to.
Think of the theme of your flatlay and what objects you would naturally find in that scene. For example, if it’s an autumnal flatlay, go with brown and orange shades and include objects like leaves, pumpkins, wooden boards etc.

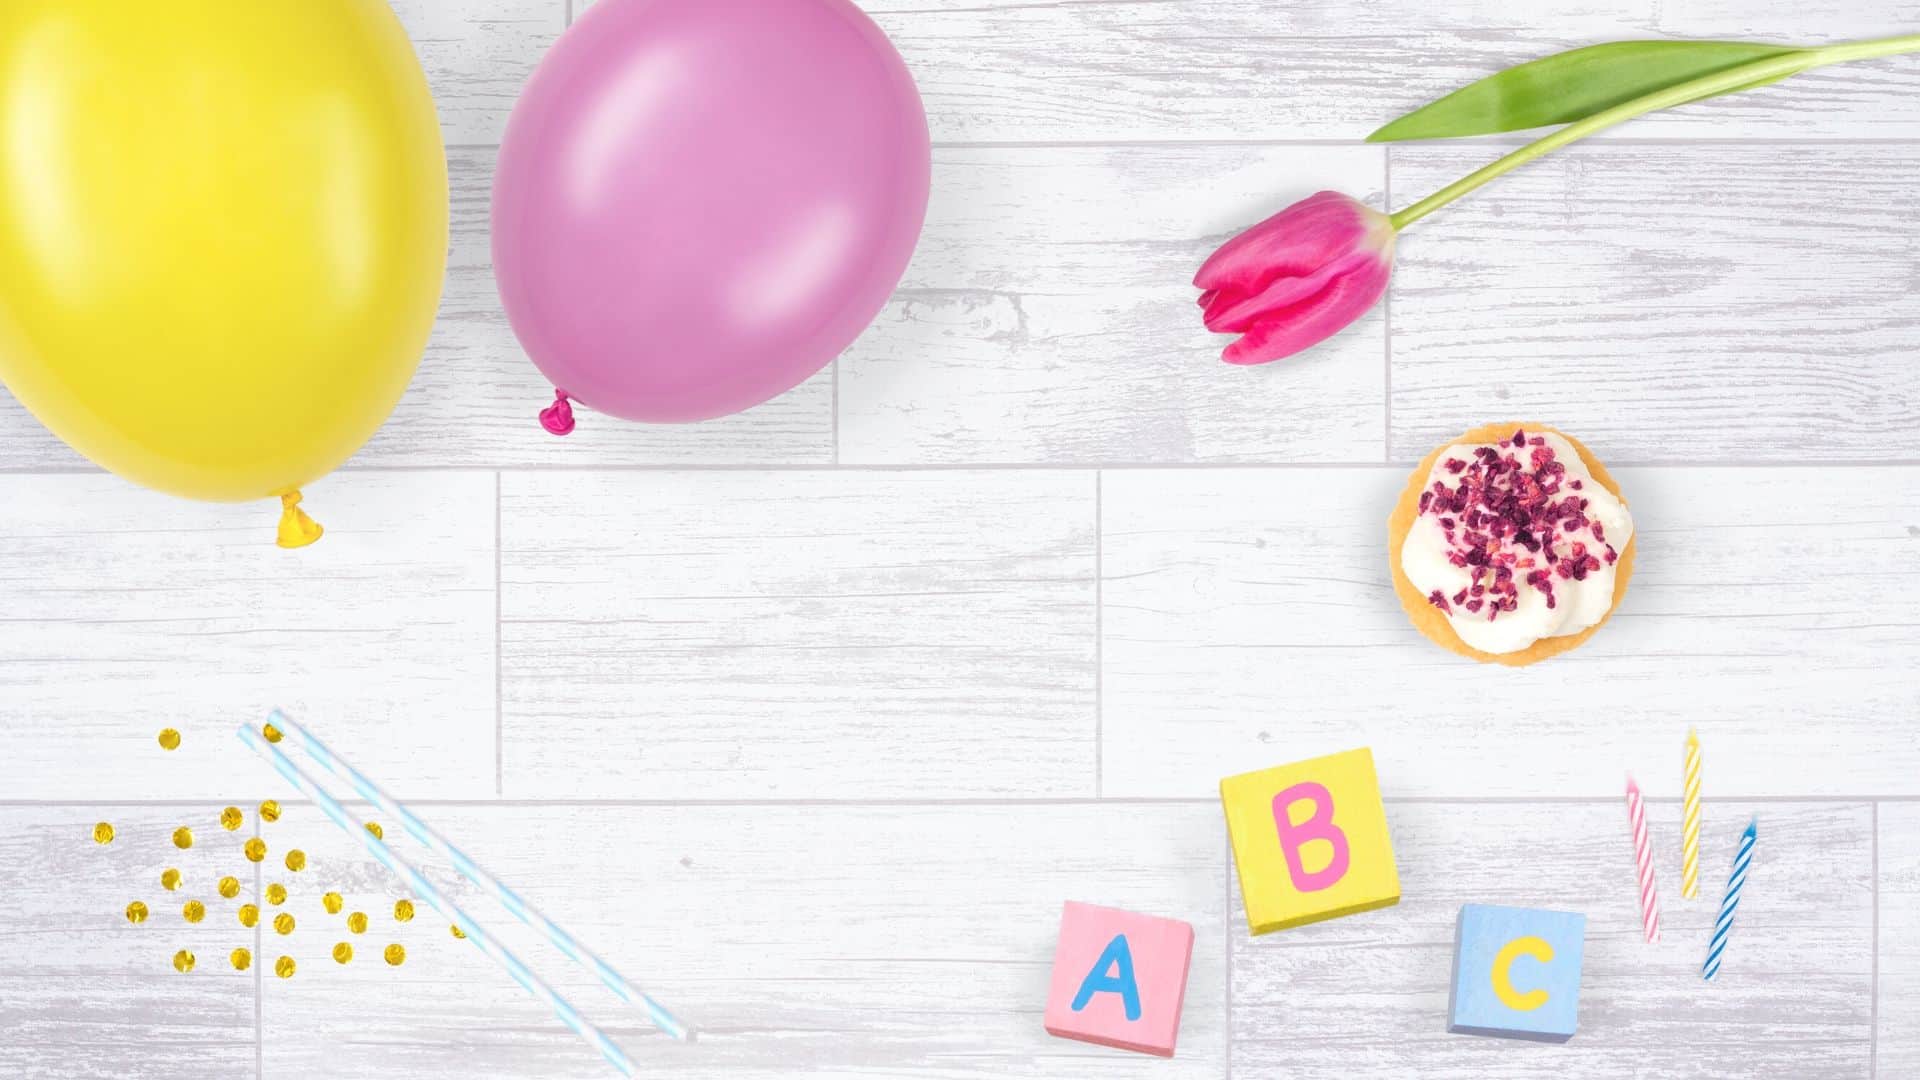
If you’re preparing a kids-themed flatlay, think of objects that might fit in that scene. Balloons, flowers, kids toys, confetti etc. You’re gonig to keep it colorful and bright, right?
Having that theme in mind will help you immensely to come up with props ideas and settings you can try.
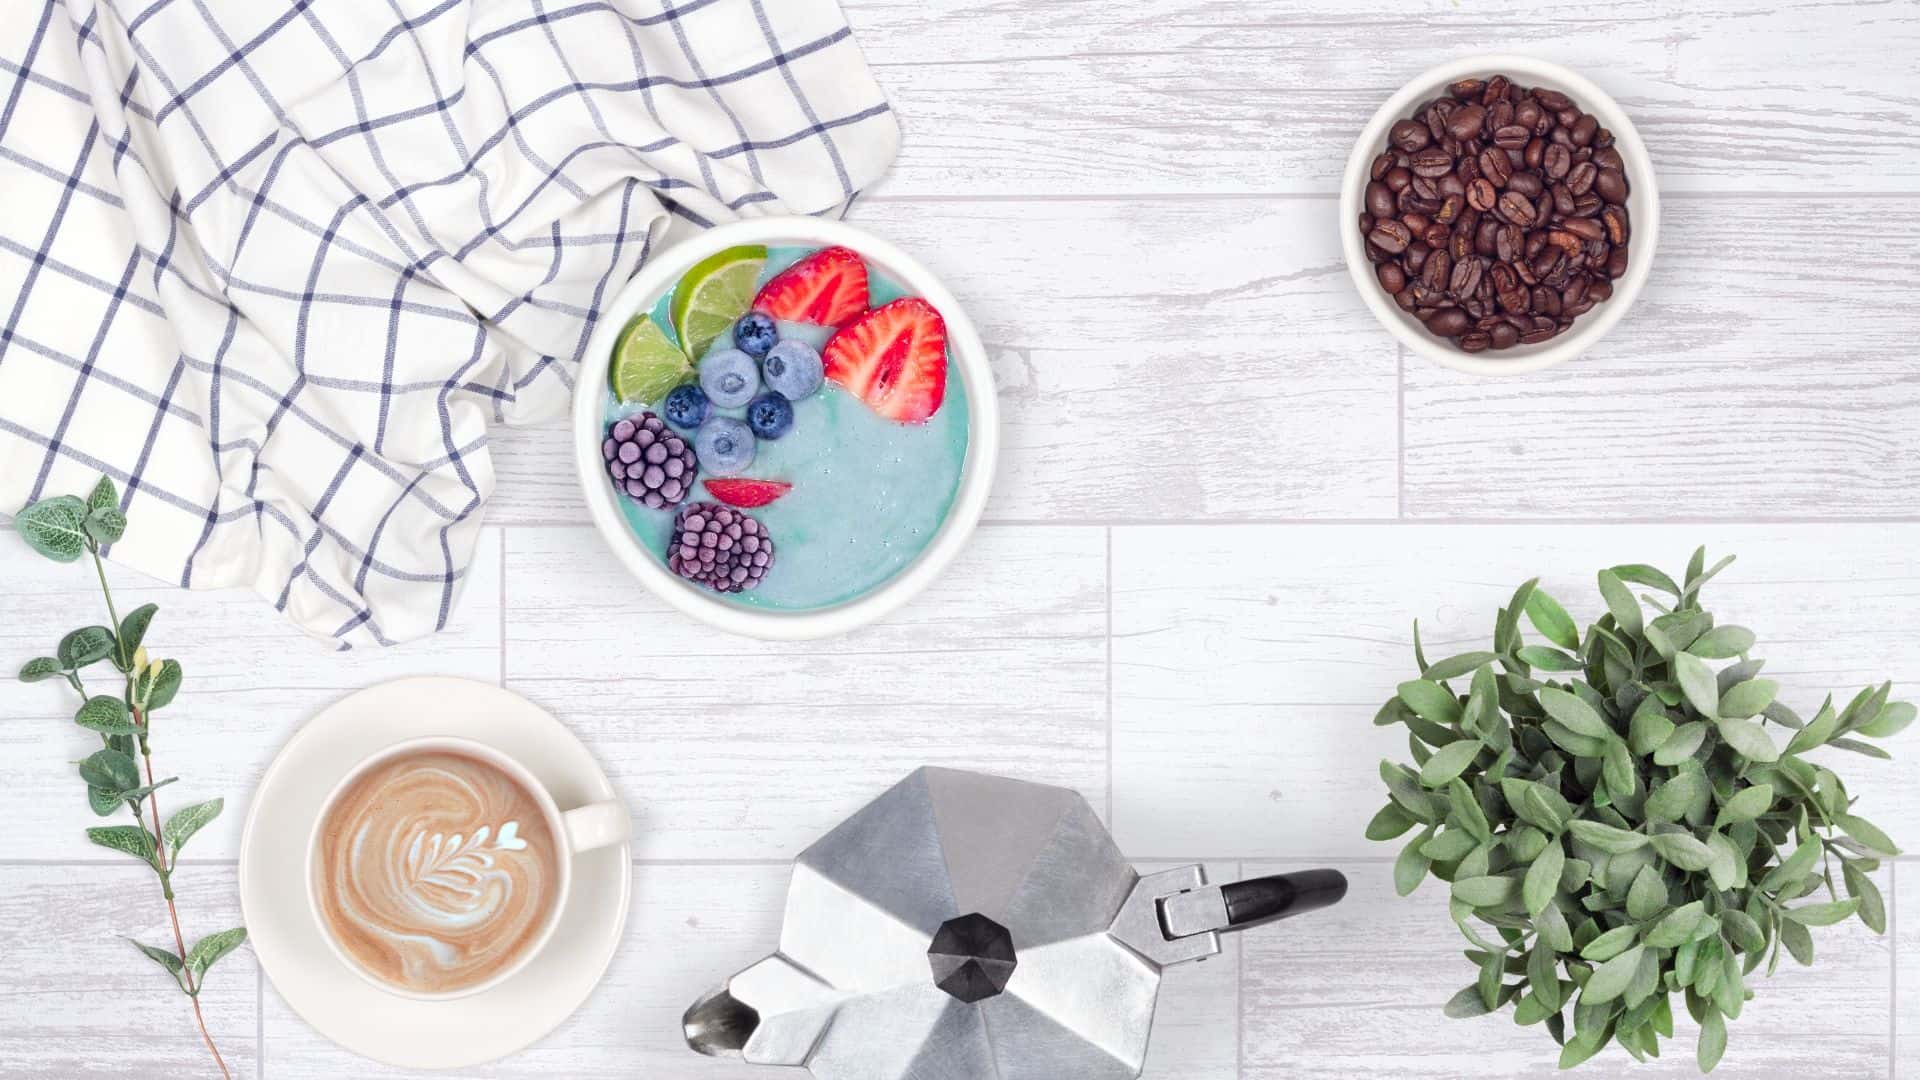
Tips for arranging objects in a flatlay
Keep it simple. I think that’s the main thing to keep in mind.
No one likes clutter. Having a huge board full of objects thrown in there randomly will be hard to digest for your audience and they might lose interest.
Have a few big objects as the main focus and throw in some tiny details to keep the scene a bit busier. Again, no need to pile on everything you own in that theme.
Play around with the objects and take multiple shots of different arrangements. It will help you decide which one is a better choice when you export it onto your computer and you can actually visualize the final product.
How to take a flatlay photo properly
The right angle for a flatlay is from straight above your surface. I usually use a chair to climb on if my surface is a bit higher up (say on a table).
Another tip is to take multiple shots from a closer position and then also a few from further away, even if there’s bits on the edges that you don’t want in your flatlay.
Why? Because sometimes you go to edit your flatlay and you realize that you needed a bit more of your photo to be able to crop the right size and remove the edges you don’t need.
It’s helpful to have multiple shots to choose from so that you don’t have to go and recreate the entire photo session.
35 Flatlay Props Ideas
Here is a list of commonly used flatlay props that you probably already own and can use in your next flatlay:
- Laptop
- Phone/phone case
- Rings
- Watch
- Sunglasses
- Perfume
- Nail polish
- Lipstick
- Hats
- Tea towel
- Throw/blanket
- Net bags (for produce)
- Scarf
- Shoes
- Slippers
- Cup of coffee or tea
- Mugs
- Plants (cacti, succulents, eucalyptus leaves etc.)
- Flowers
- Vases
- Leaves
- Tea leaves
- Candles
- Candle holders
- Notebook
- Paper clips
- Sticky notes
- Pens
- Highlighters
- Coasters
- Bowls
- Bamboo cutting board
- Small woven/wicker baskets
- Fairy lights
- Trinket dish
I hope you found this helpful and made it easier to get that perfect flatlay for your blog or instagram.
What is your favourite surface/background to take flatlays on? Do you use flatlays often in your content? I would love to know!
RELATED:
- Bright Minimal Lightroom Preset FREE
- Bright Moody Lightroom Preset FREE
- 7 Instagram Hacks You Didn’t Know
- How to Get Your First 1000 Instagram Followers


Leave a Reply