
This post may contain affiliate links, meaning I make a commission if you purchase through my links, at no extra cost to you. Disclosure here.
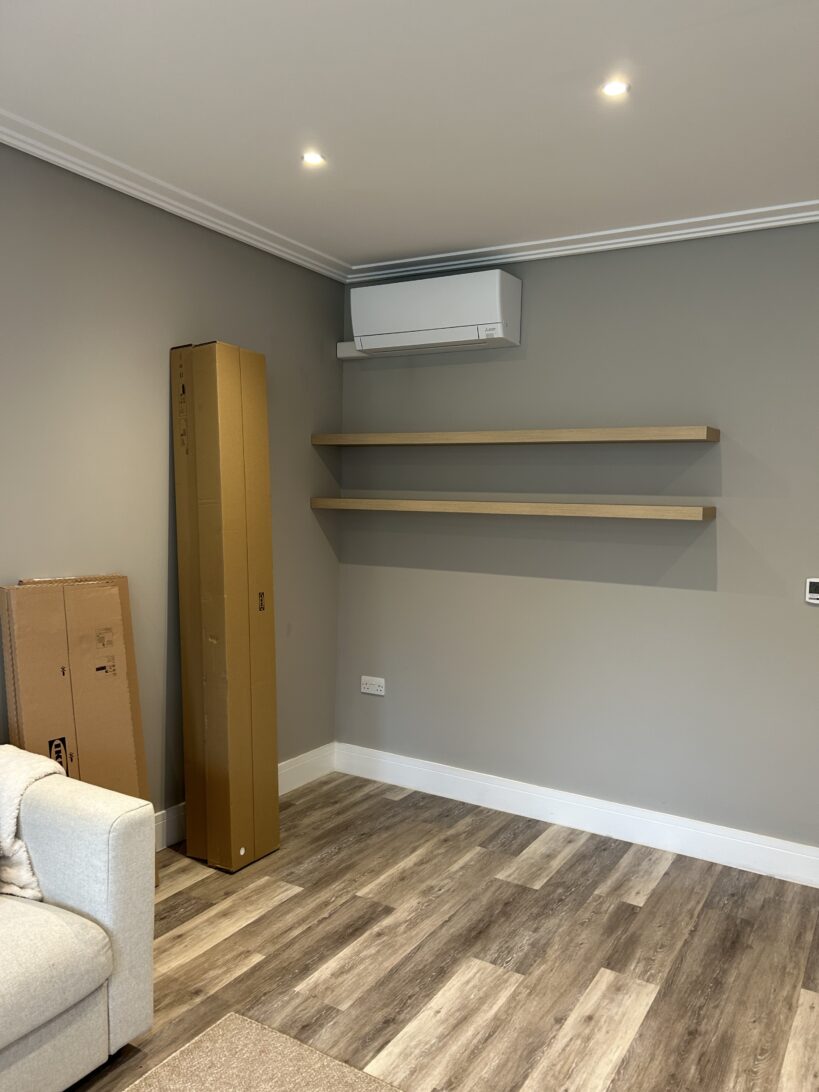
We made a huge mistake. We realised our floating shelves in the living room were not made to hold books.
And yes, we could have had someone come and create a bespoke shelf unit, but that can cost thousands of pounds. So, we came up with a plan: to try and do it ourselves using some Ikea Billy bookcases and making them look built-in.
It sounded easy enough but this could either be our best idea or the worst one ever.
In this article, I’m taking you along for the process. I’ll also share with you how much the whole project costed, how long it took, and if we managed to actually do the whole thing ourselves.
Keep reading below or watch the video:

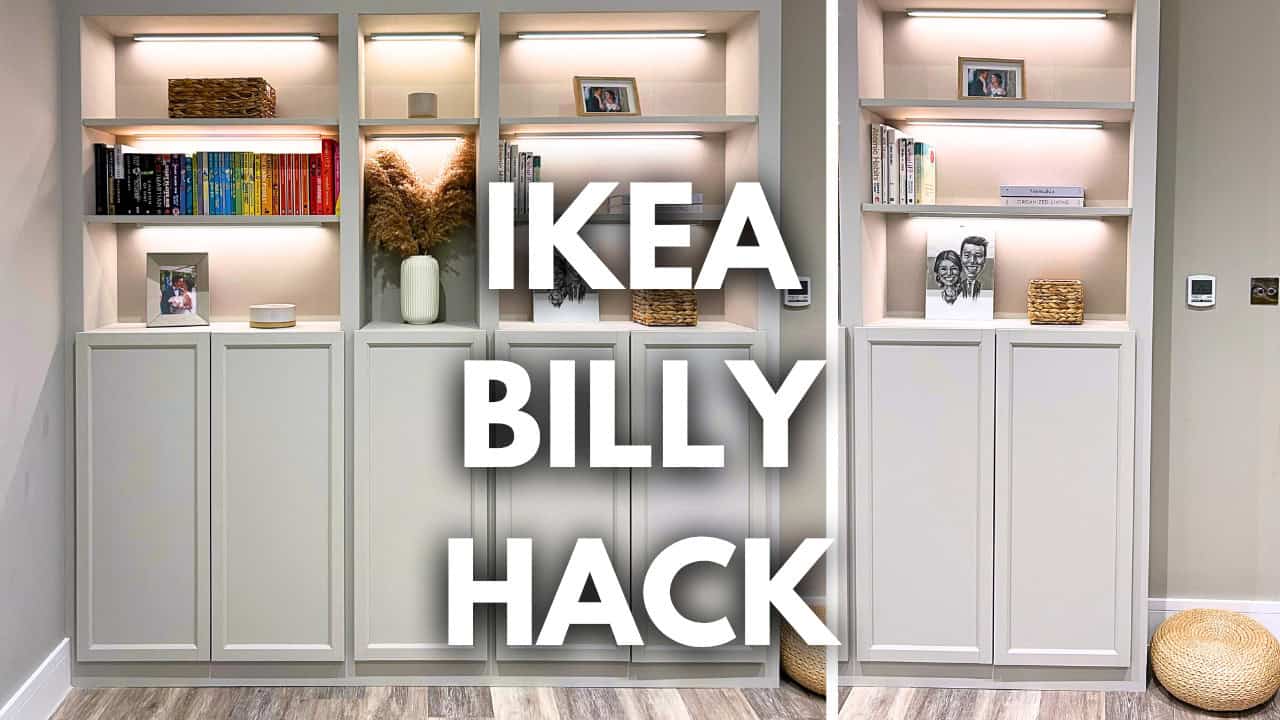
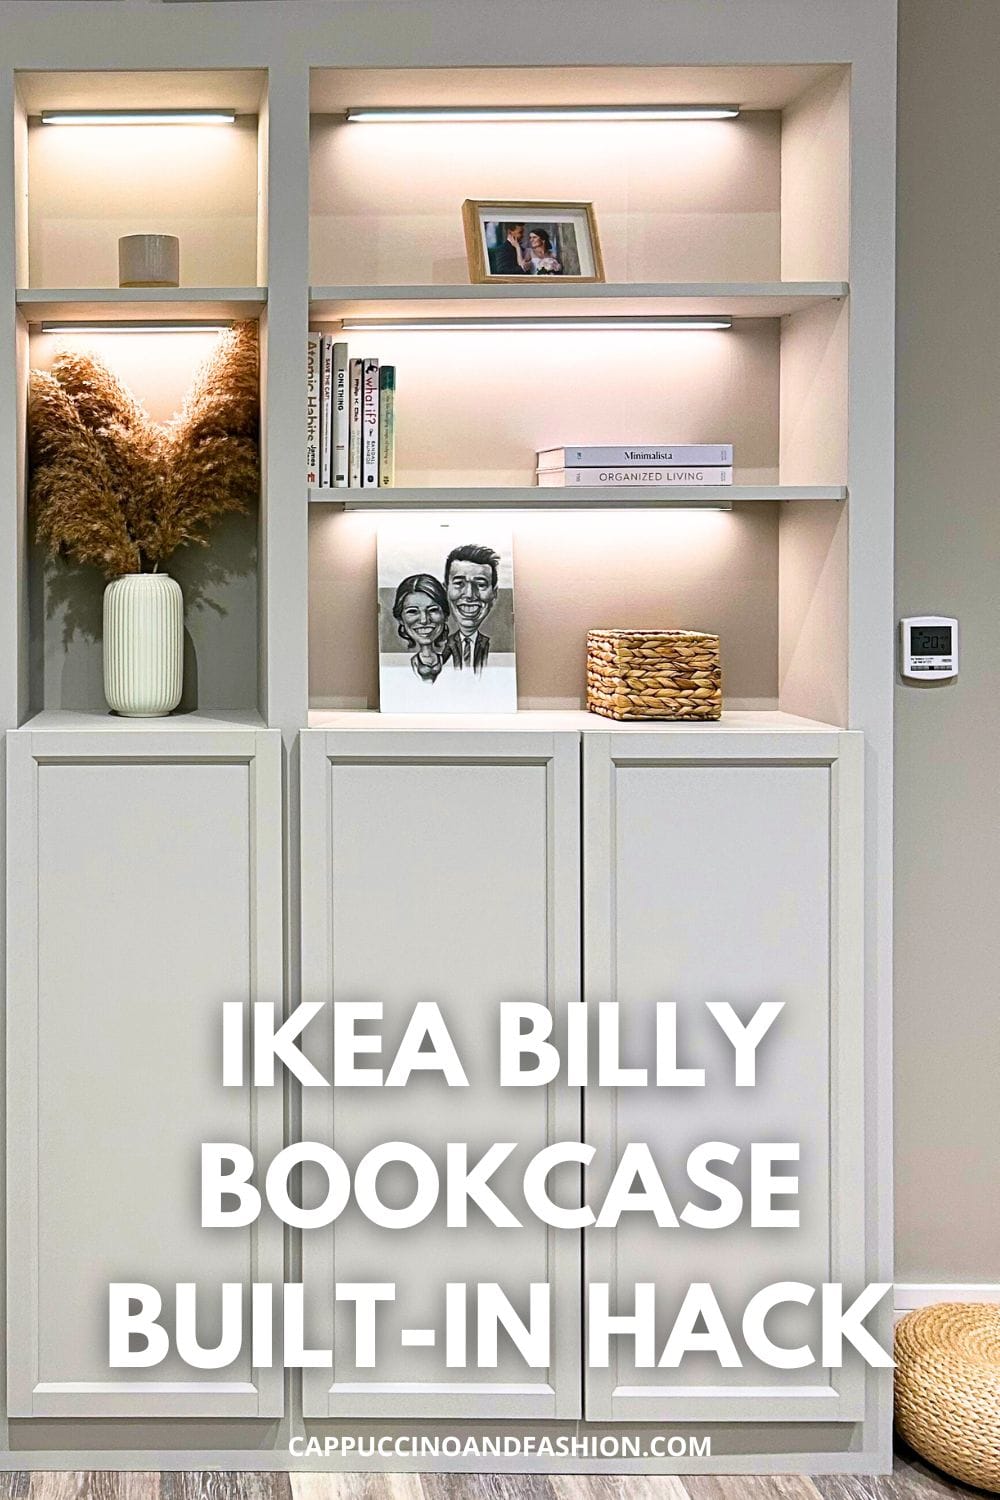
Our Built-in IKEA Billy Bookcase Hack Process
A quick mention: we only worked on this project for a few hours every day. With jobs and kids running around, it was impossible to do a full weekend just dedicated to this. It was an hour or two here and there—when the toddler was napping or when both our kids were in bed. That was kind of our work time on this.
Day 1
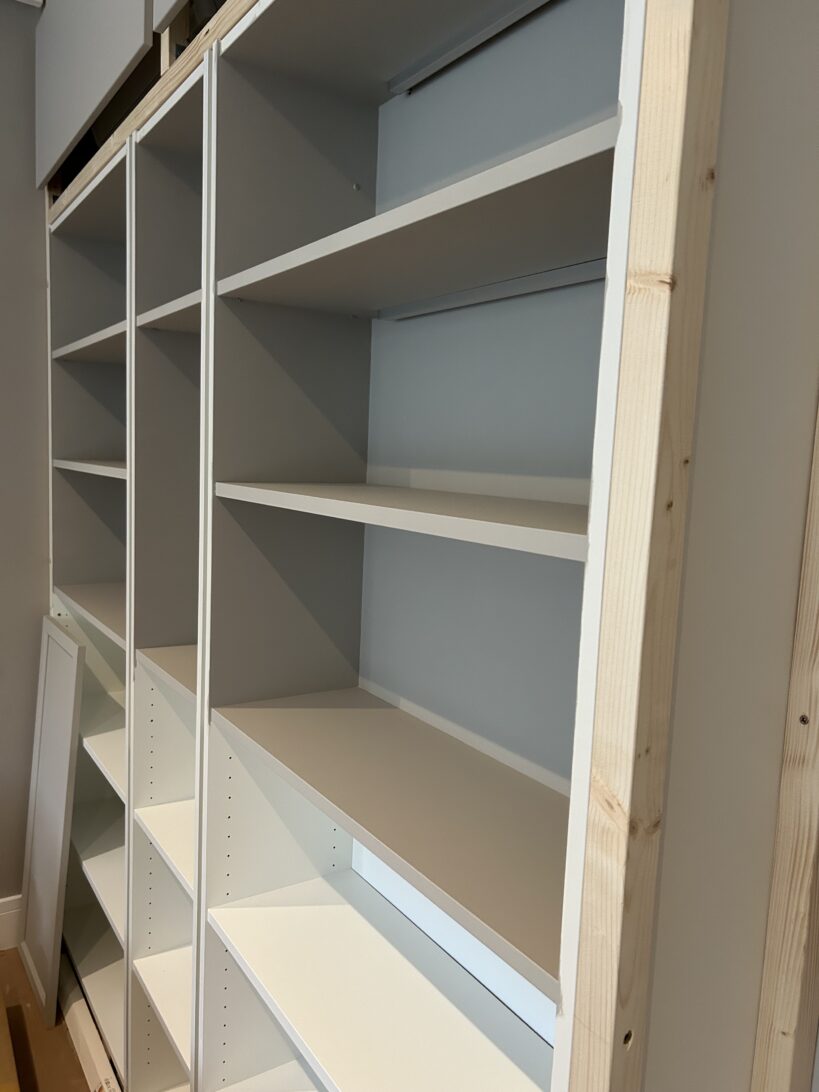
We started the project on October 29th. That’s the day we got our Ikea parcels delivered, and we started by building all three units.
The bookcases we went for are 28 cm deep. They’re just the standard Ikea Billy bookcases, which are very popular. We got two of the 80 cm ones and one 40 cm one to go in the middle.
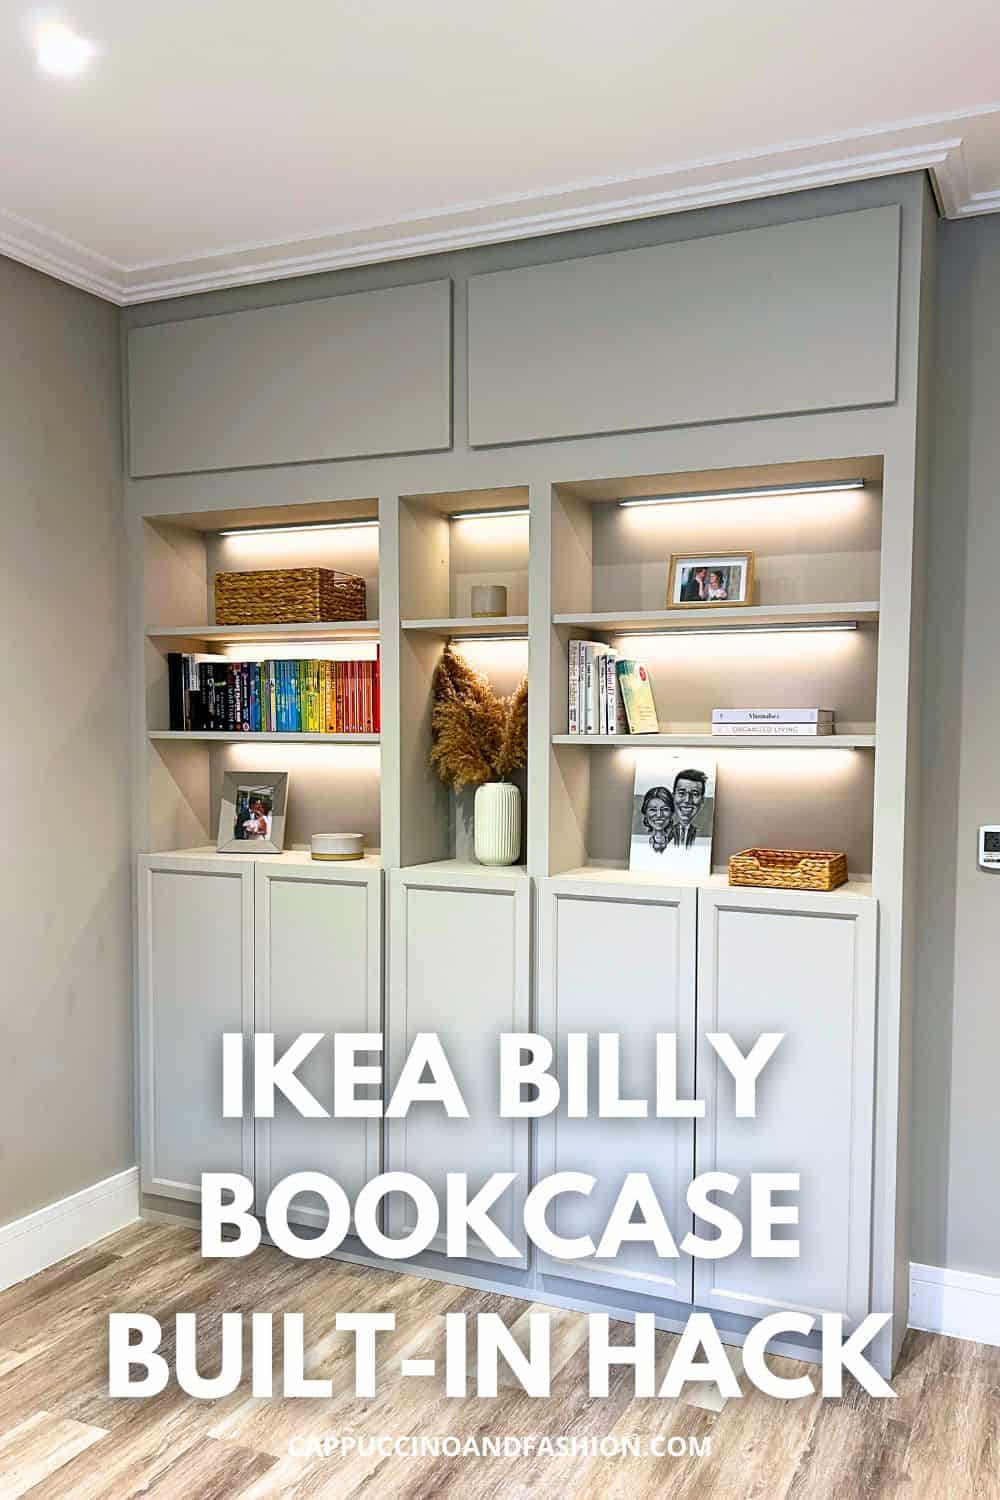
After measuring our space, we decided this combo would probably fit the best. We still wanted to have toy storage in the living room for the kids and to also bring their books down from their bedrooms. We also wanted to store our own books on the top end. Another goal we had was to mask the aircon unit at the top.

These were the things we had in mind when we built this whole thing.
Once we assembled all three units, we went to B&Q to order the wood for the frame.
Day 2
I started doing some paint tests to see how the paint that we had would work best. I did that in the shed, and the first test was to use primer on wood and then paint it. It didn’t turn out as I had wanted.
For primer, I chose the 123 one by Zinsser which is a water-based one. But after reading some reviews, I now know I should have used the shellac one.
As for the paint, I used the Farrow&Ball, shade “Purbeck Stone”, as it’s the one we have on our walls and I love it.
I wanted to see what the finish would be like. So for one side of a piece of wood, I just used a regular brush. For the other side, I used a foam roller.
Unfortunately, soon after painting, if I looked really closely, I could see little speckles of white underneath. Obviously, that was not ideal.
Mistake number one: need to go get a different primer.
Day 3
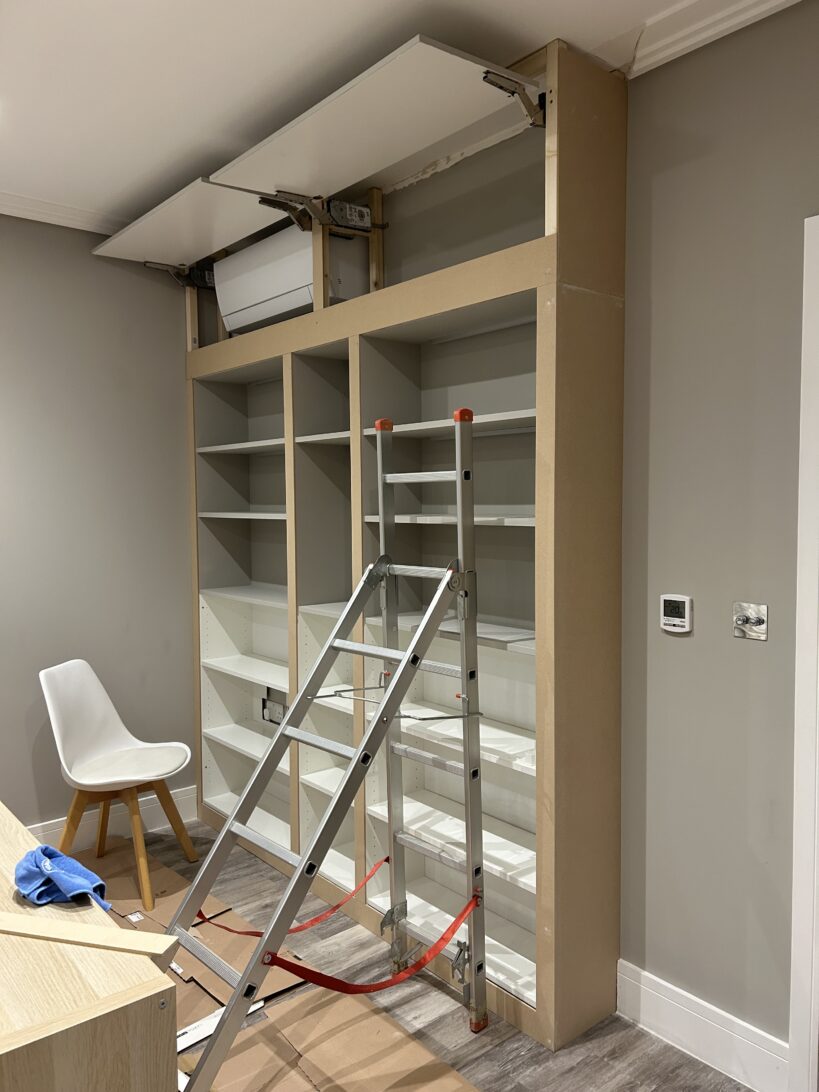
The wood got delivered, so we started doing some damage.
This was during the step of cutting off the skirting board where the unit would go, to make space for it to go all the way to the wall. We also had to cut the coving at the top of the ceiling. This was a necessary step to give the whole unit that kind of built-in look at the end.
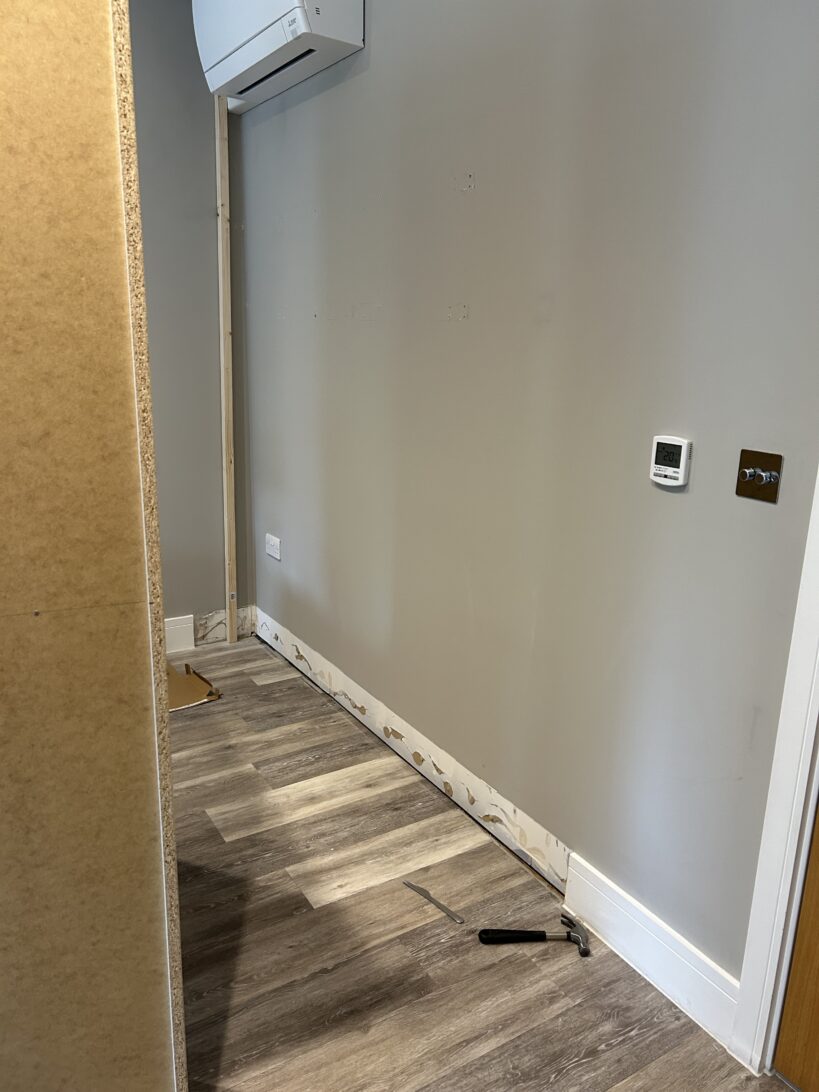
I feel like once we started doing this, cutting bits in our living room, it started to get real. The damage was done; there was no going back.
In the meantime, I managed to do some new paint tests, and I was finally happy with how it was coming out.
And a little tip I learnt: I kept all the paint brushes and paint rollers in a Ziploc bag. I was painting over several days, and I needed the paint brushes to not dry up. I also didn’t want to have to clean them every single time I did a layer of paint or primer, so keeping them in a Ziploc bag really helped.

Day 5
We started cutting a hole in the back of the bookcase for the sockets, and this was mistake number two (watch the vieo to see what I mean).

We also made a few holes to run light wires throughout as we wanted lights under each shelf.
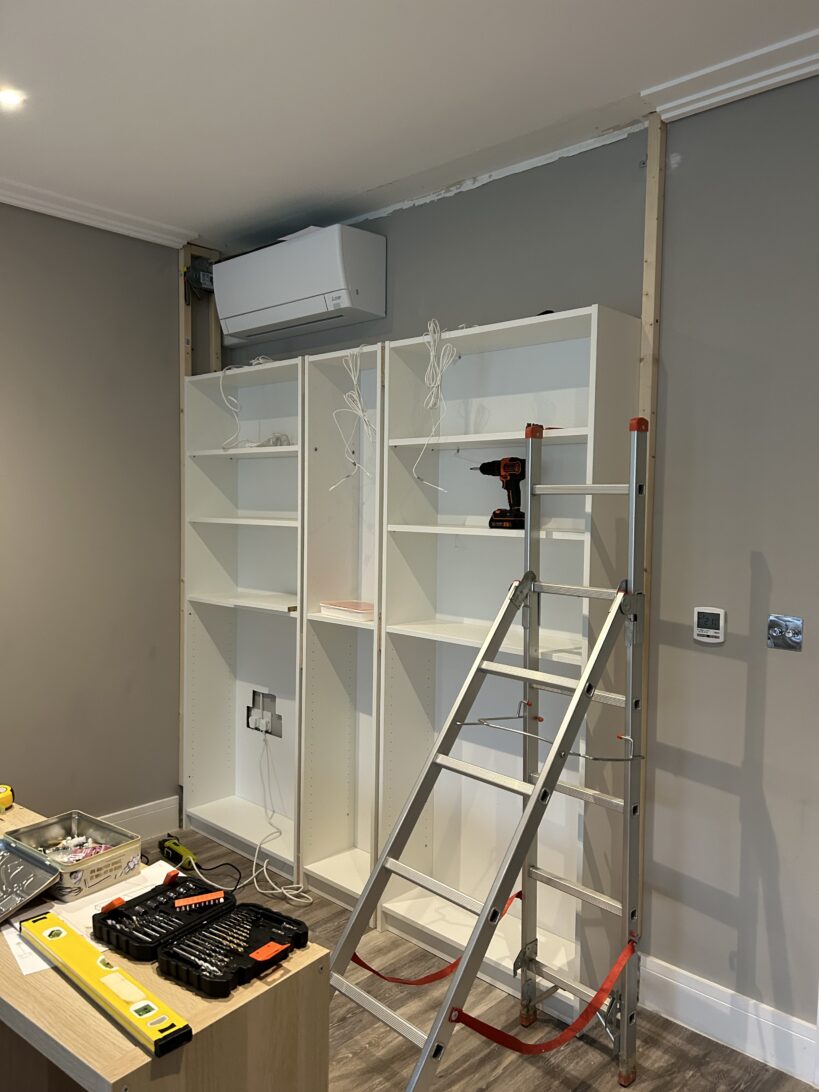
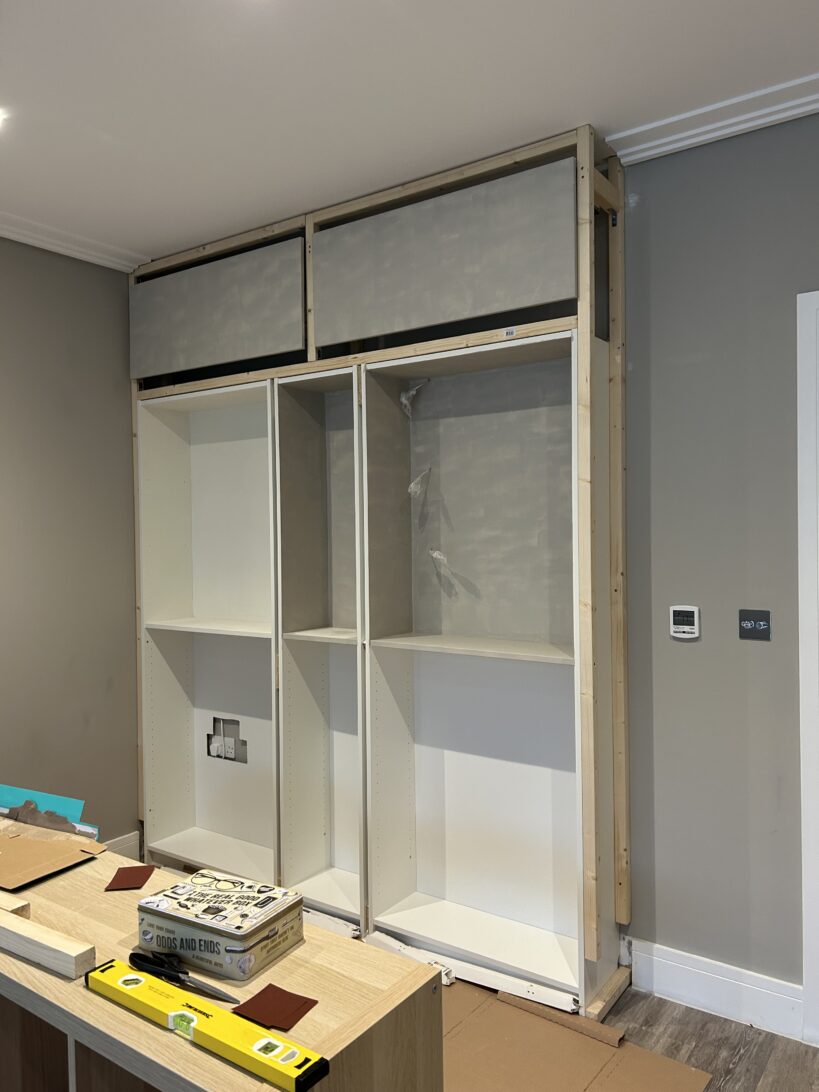
Day 6
As the wood had been delivered, we started building a wood frame around the bookcases, all the way up to the ceiling. The plan was to also build some doors at the top.
I used wood filler to fill in all of the little holes that are on all Ikea furniture pieces, to give it more of that built-in look. I picked white wood filler as I thought that would go really well with it, but after I painted over it, it didn’t really matter what colour it was anyway.
My husband cut a lot of the wood frame pieces with just a hand saw.
Once the frame was all built, we added hinges to it, at the top. These were also from Ikea. Then we added two horizontal doors to them.
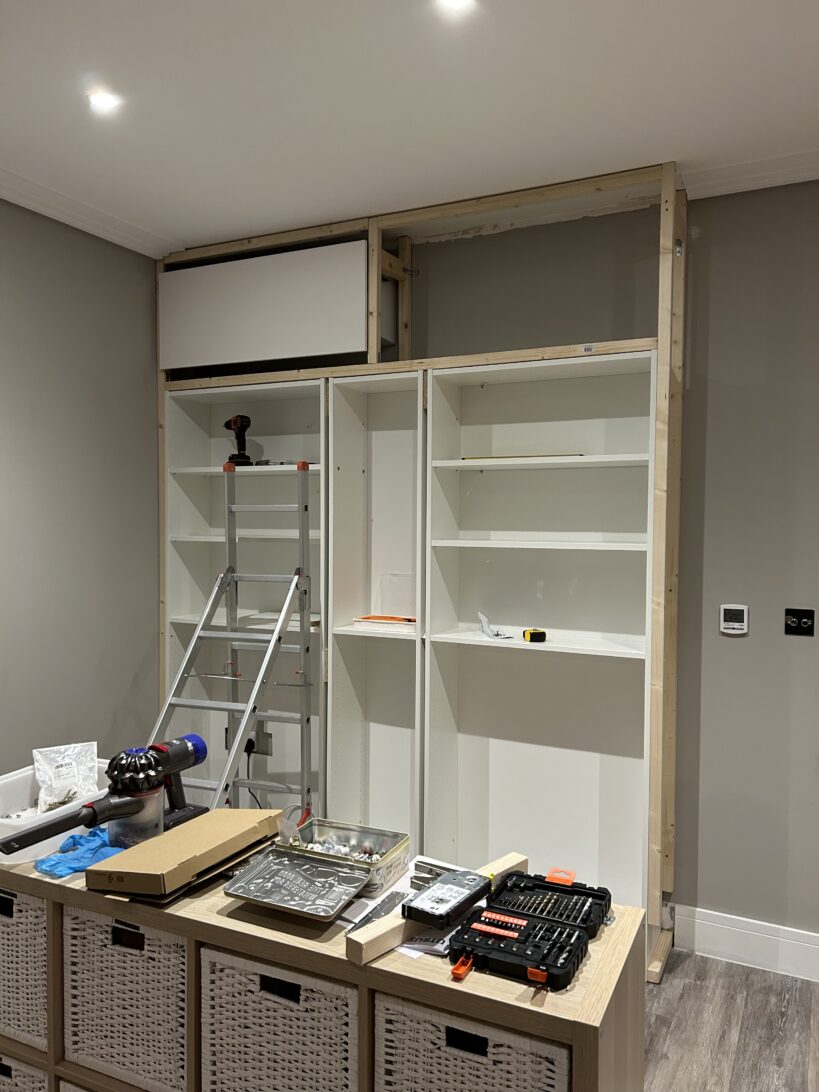
The two horizontal doors are also Ikea, from their kitchen range. We thought this would be a really good way to cover all of that top bit and also have the option to open one of the horizontal doors to use the aircon.
Day 8
I started painting all of the shelves and doors – welcome, mistake number three.
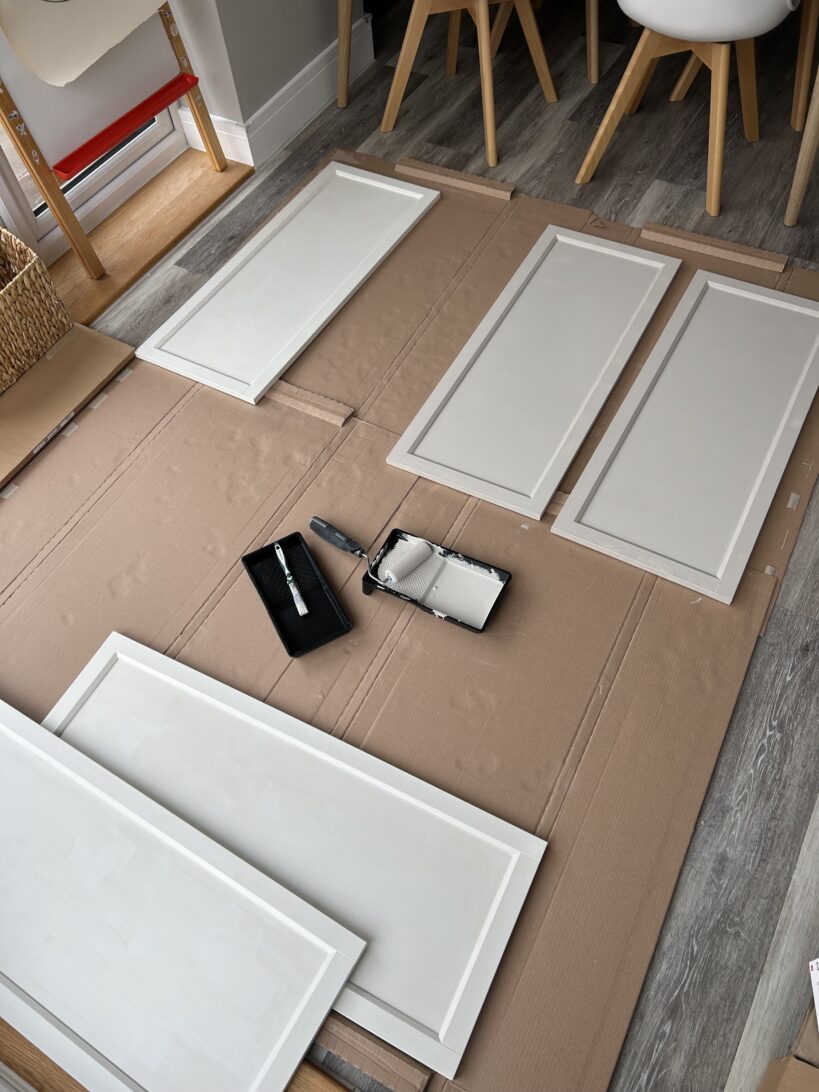
I should have put the shelves up in the Billy bookcase and then painted them in place. I think that would have made the process so much easier. When we did put the shelves in place, we actually did chip some tiny bits here and there. I had to then cover up again with paint those little chips.
So, if I were to do this again, I would put all the shelves up and then paint them. But, you know, live and learn. And we did learn a lot through this process.
Once the frame was all built, we ordered the MDF, which took a few days to arrive.
Days 9 & 10
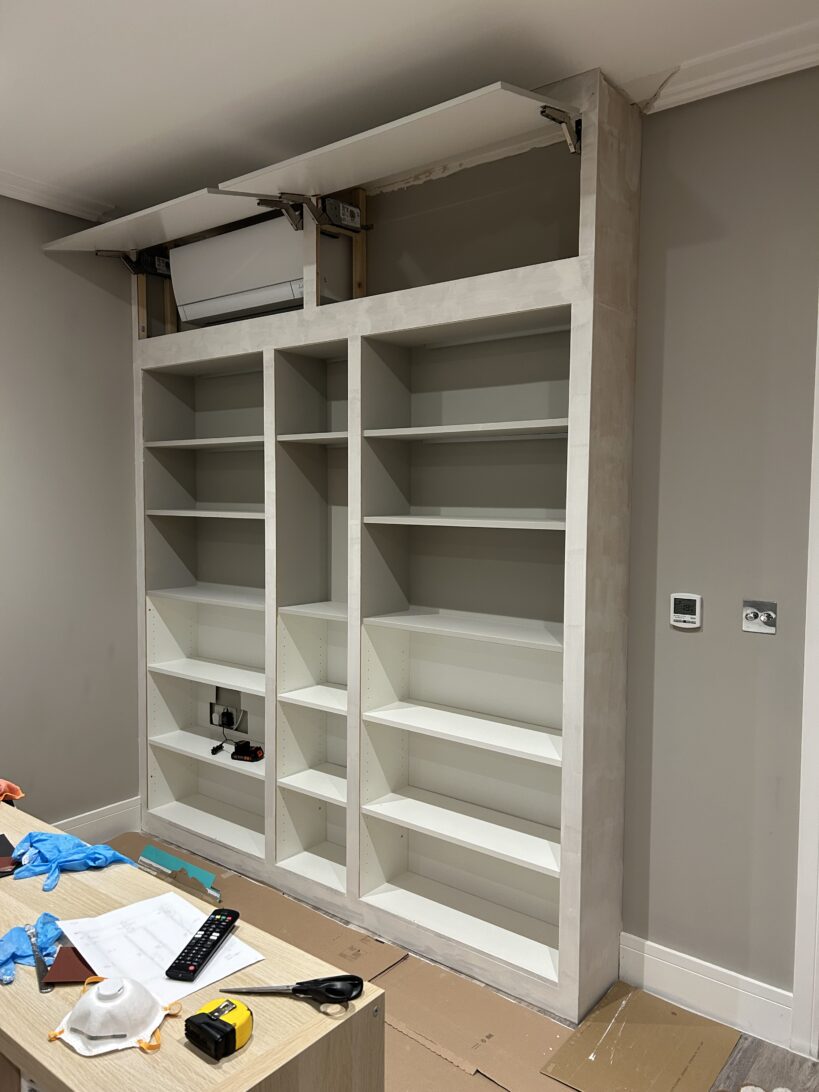
In the meantime, I painted the frame.
I started by sanding the holes I had filled in. I also sanded the shelves as well, using some sandpaper. Then I used the primer and did some more sanding before painting, as I had found that worked the best.
Before sanding, I covered all of the light cables with some cling film. I didn’t want any dust or paint to get into them, as that wouldn’t have been ideal.
I’ve got to say, spending Saturday nights, sanding for hours and using primer and painting makes you question your life choices. But I felt like it was coming along nicely.
Can you paint Ikea Billy Bookcases? Do I need to sand Ikea furniture before painting?
The best painting technique that I found, after a lot of trial and error, was, in this order:
- light sand on the surfaces as they’re usually slightly shiny or have some sort of paint on top
- use the primer and wait 24 hours
- light sand again, over the primer – I don’t know if it’s actually needed, but I really wanted to make sure that the paint would stick really well
- do two coats of paint with a 4-hour wait between them
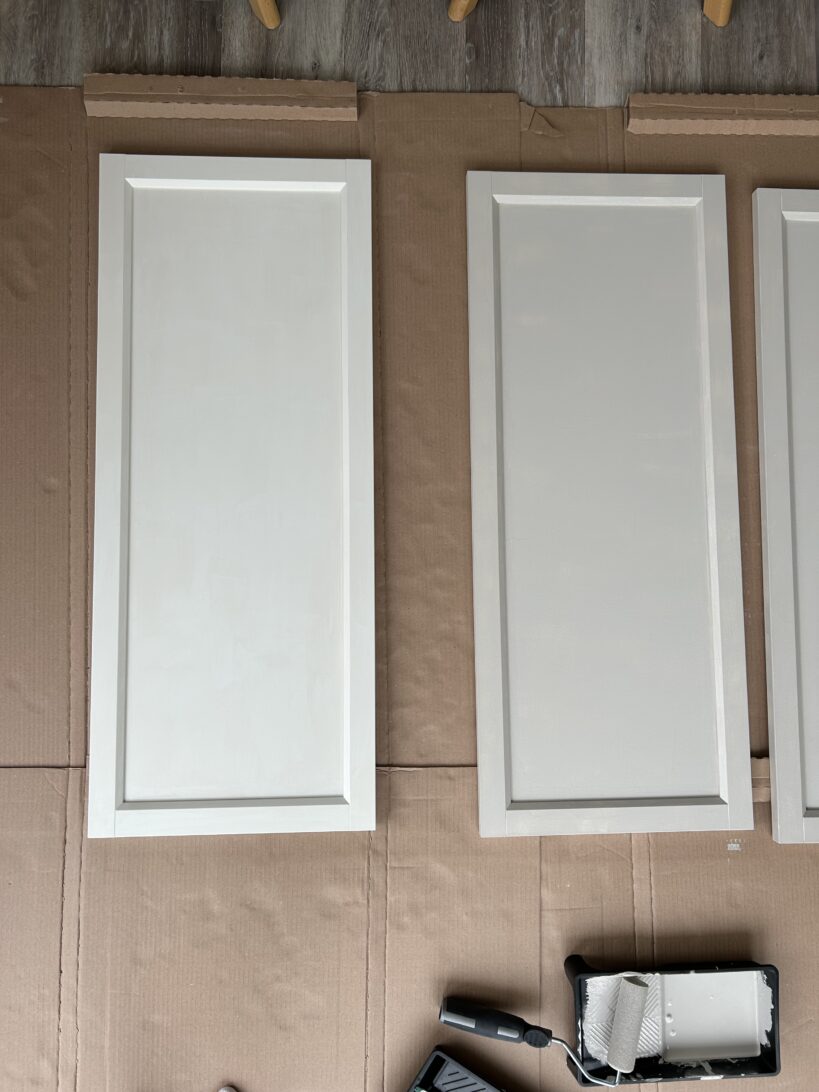
As mentioned before, we used paint from Farrow & Ball, shade “Purbeck Stone” to give the built-in appearance, as this is the shade we have on our living room walls. We also decided to use “Dead Flat Paint Finish” from them, which is a very chalky matte finish, and it’s supposed to be really durable.
Day 12
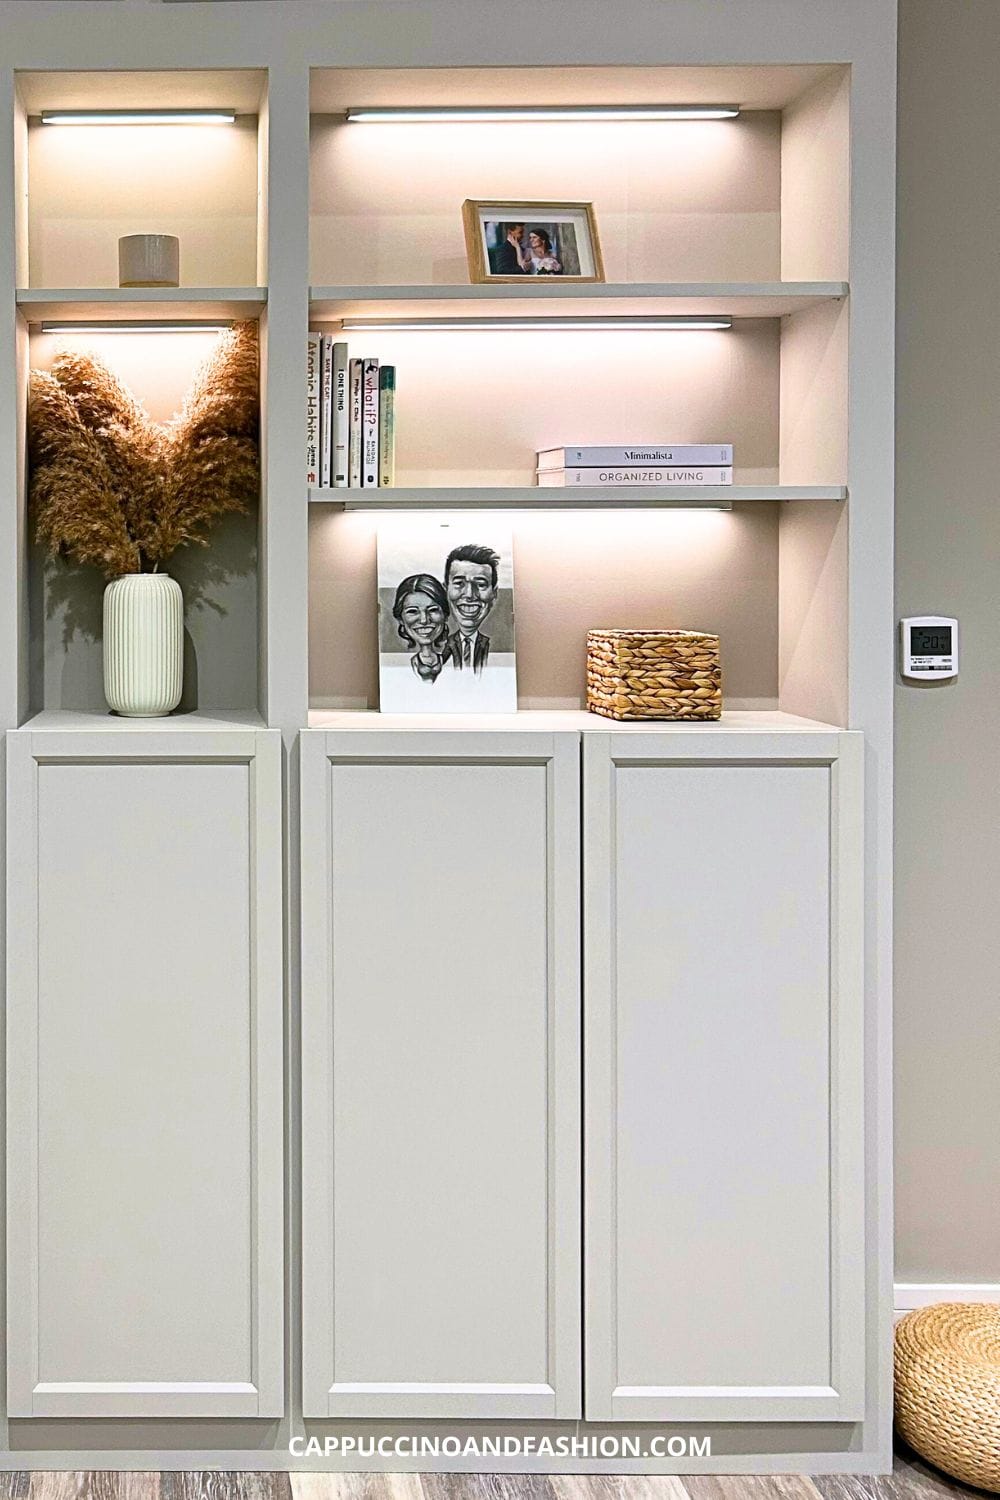
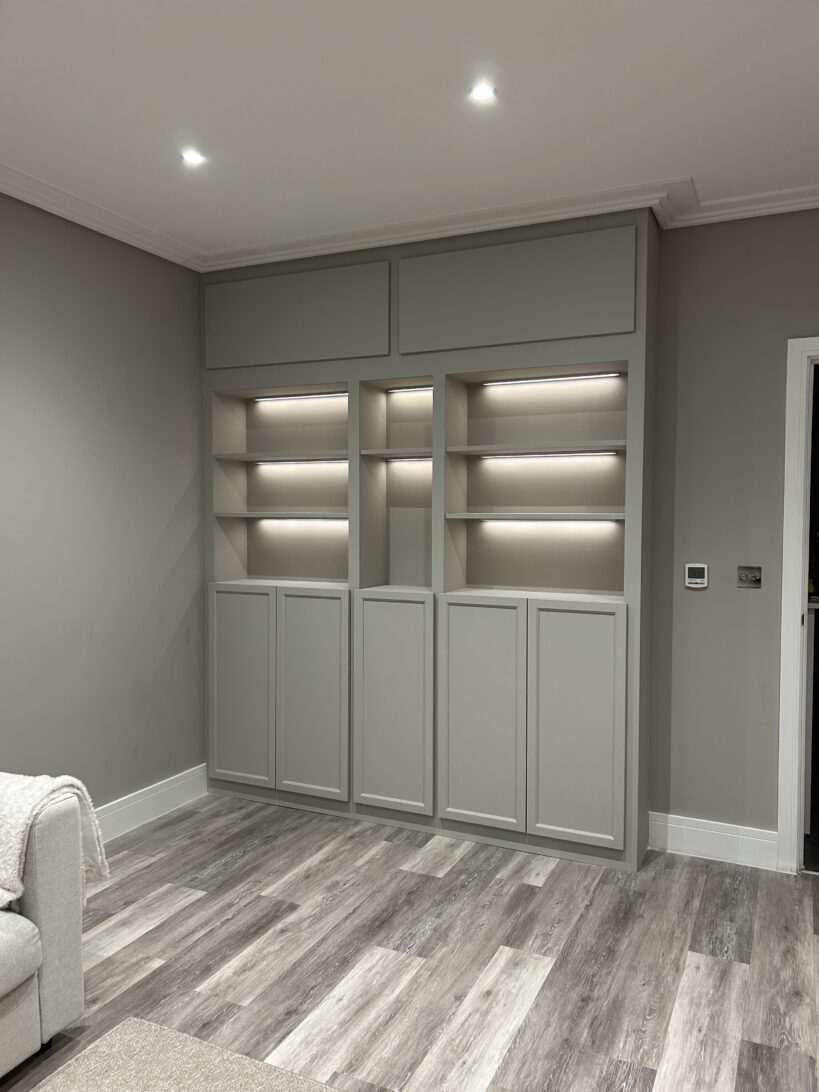
When the paint was all dry, we added the light strips on the furniture.
Then our MDF finally got delivered, so it was time to use the little map I had created.
The reason we decided to use the MDF pieces was to create a smooth finish all over. We wanted to cover all the gaps between the bookcases, the side of the bookcase, and the top bits around the horizontal doors.
Days 17 & 18
The next step was to prime the MDF and the rest of the frame. In the process, I also did a bit of wood filling in certain joints. I then finished painting all of the frame and everything around it.

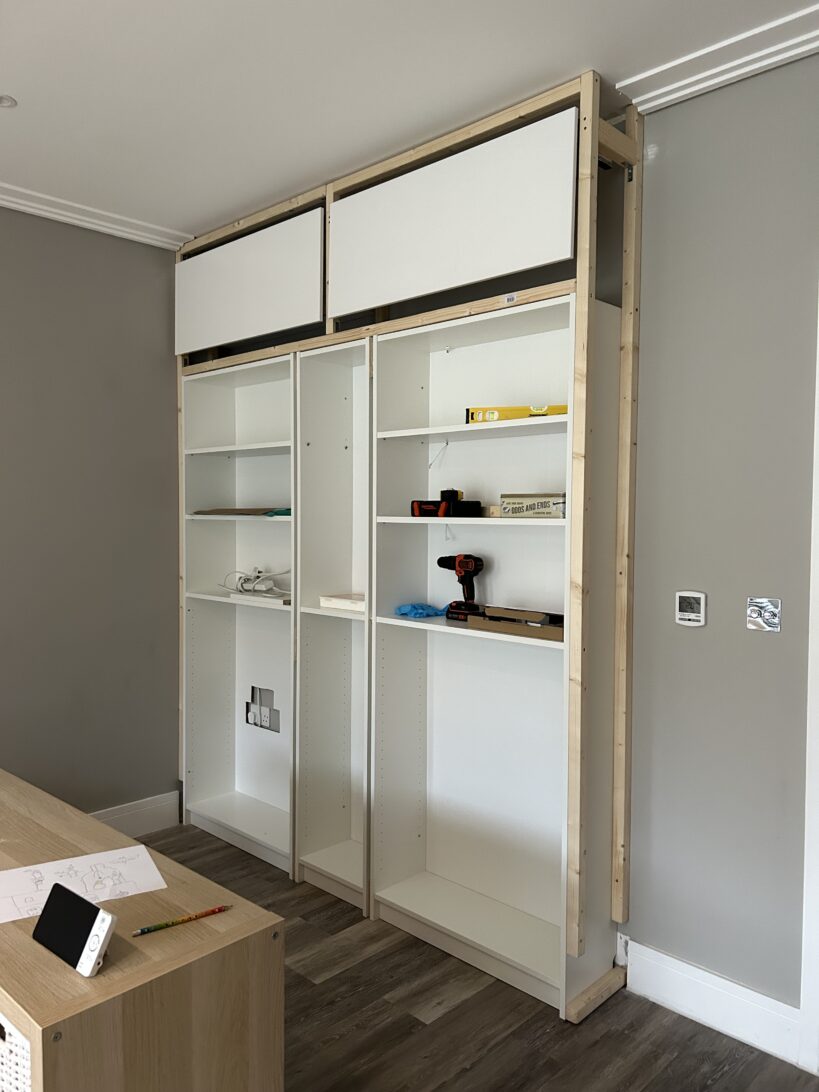
Day 19
We added the doors, and then we took a step back to admire our finished product. For two complete amateurs when it comes to home DIY, I think we actually didn’t do too bad of a job.
How long did it take to do this Ikea Billy Bookcase built-in hack?
The whole process took about 2 weeks from start to finish. We did have a few days of waiting in between for parcels to arrive, and again, we only did a few hours here and there around the kids.
How much did this Ikea Billy Bookcase hack cost?
The whole project cost us about £857.
Here is a price breakdown of much everything cost for our Ikea Billy Bookcase Hack:
| ITEM | PRICE | SHOP |
| Billy Bookcases (2x 80cm, 1 x 40cm) | £145 | IKEA |
| Oxberg doors x5 | £100 | IKEA |
| Top door hinges Utrusta x2 | £80 | IKEA |
| Top horizontal doots Vegginge | £38 | IKEA |
| Light strips | £216 | IKEA |
| Wood pieces & co | £86 | B&Q |
| MDF | £63 | cutmy.co.uk |
| Paint | £66 | Farrow & Ball |
| Zinsser BIN primer | £25 | Homebase |
| Random bits (screws, glue, wood filler, paint brushes etc) | £38 | Homebase |
Total cost: £857
And that’s it—our little DIY adventure wrapped up!


Leave a Reply